Time for Tamales
A Family Recipe That’s much More Than Food
Story and photos by JOHN MONTELONGO
 Nothing brings me back to childhood quite like the aroma of fresh tamales. In my family, they were a tradition every Thanksgiving and Christmas.
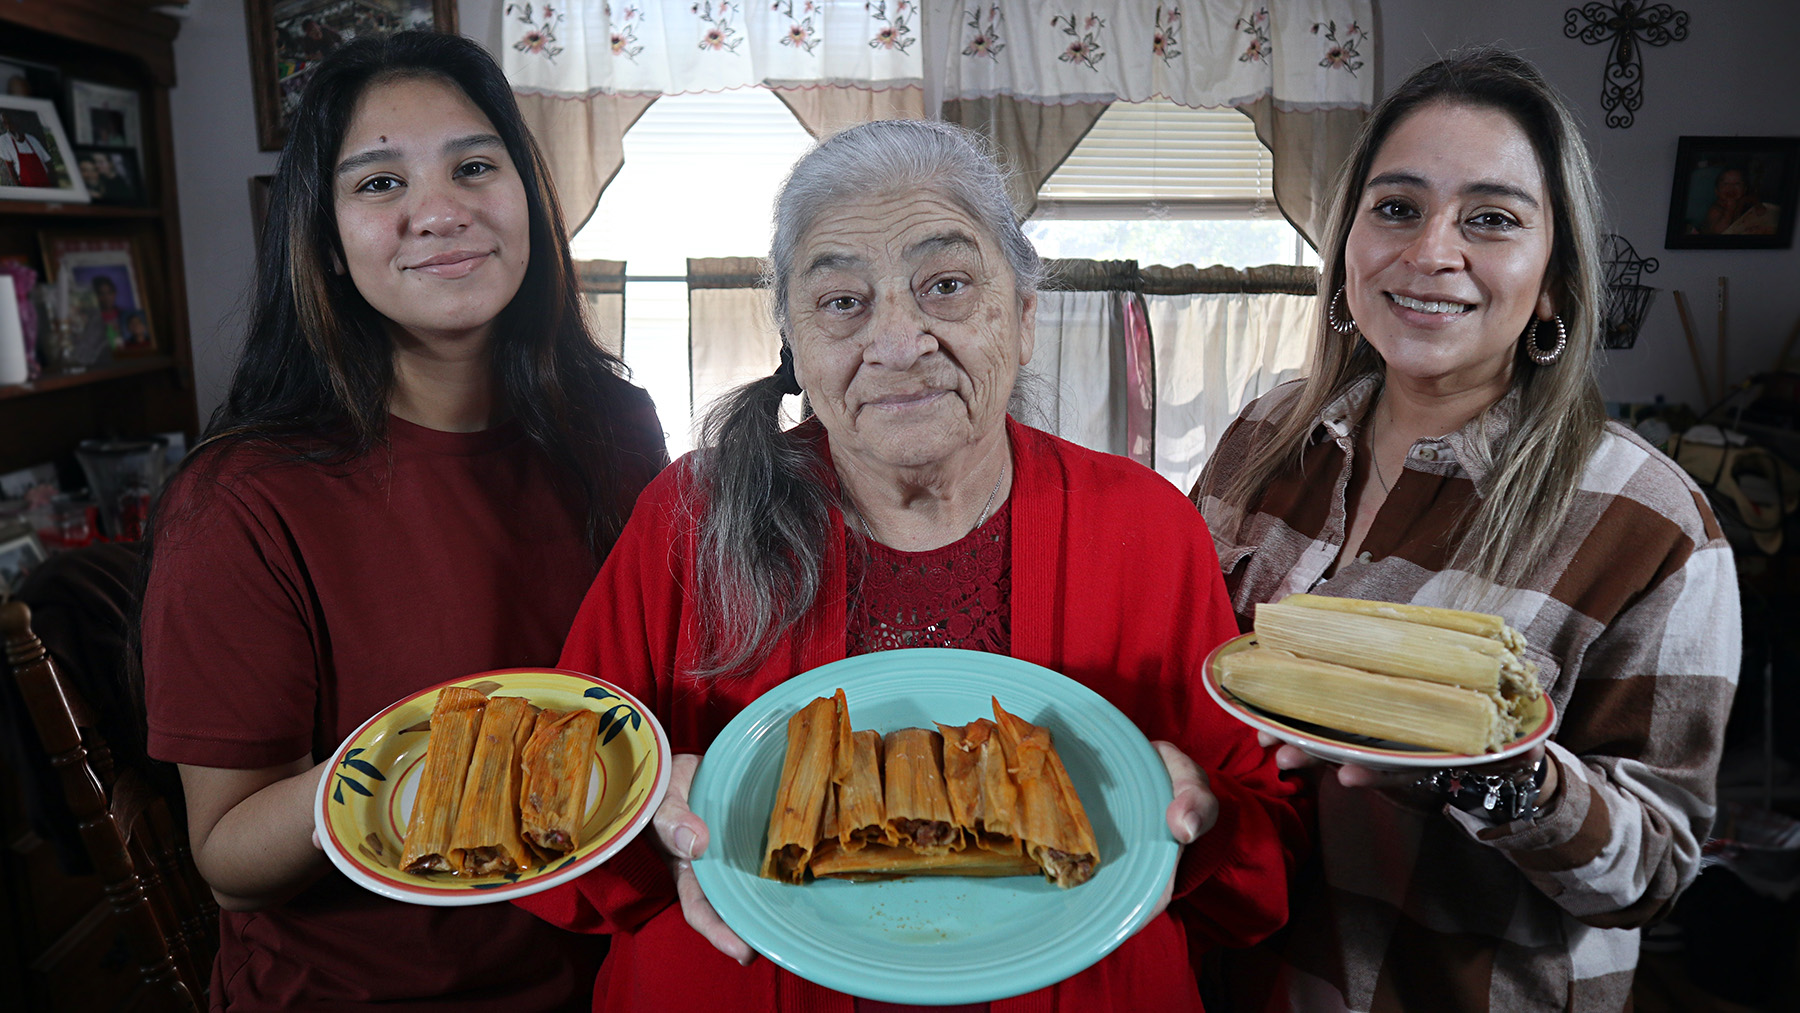
I can still see my mom, my tías and my cousins gathered around the table — preparing the meat, getting the masa ready, and soaking the corn husks. Meanwhile, my dad and tíos would be in the other room or outside around a fire, with my Tío Abel playing folk songs on his guitar. Every so often, one of my uncles would slip into the kitchen to sneak a small taste of the simmering meat, only to hear my tías shout: “It’s not ready yet!”
While we waited, no one went hungry. My family always had something to calm our cravings — tacos de carnitas served with homemade rice, beans and fresh tortillas.
This tradition of tamale-making has been passed down for generations in my family, along with a recipe that’s nearly 100 years old. Even when my grandmother passed away while my mom and her siblings were still young, the oldest daughters stepped up to make sure the recipe was carried on to the next generation — including daughters-in-law.
But for us, it was never just about the recipe. The secret ingredient has always been family.
Food has always been the way we come together — whether at a small cookout, a random get-together, or a holiday feast. Tamales, especially, were more than just food. They were the bond that brought us together, the time spent with loved ones, and the memories that still last today.
This is dedicated to my Tia Lela. We all love you and miss you. Love always, your dumb cheerio.

Homemade Tamales
By Brandy Cruz
I learned how to make Mexican tamales after marrying my husband, who grew up eating them every Christmas morning.
After tasting them for the first time (with over medium eggs on top) I said, “I have to learn how to make these!”
It took some trial and error, but I did learn and now tamales are a favorite in my home.
I like to make the meat mixture a day before assembly. The meat takes a while to cook and, for the sake of your hands, you really don’t want to assemble everything while the meat it hot.
A bonus, giving the meat time to cool in the fridge allows any fat to settle to the top and I use that to help make the masa.
For meat mixture
Pork butt or beef roast
Seasoning salt
Black pepper
Garlic Salt
Water
Place your roast into a slow cooker. Add a good amount of seasonings to the top and then cover with water. Cook until the meat falls apart. Shred meat and put back into broth. Cool in the fridge overnight.
 For spices
Dried guajillo chiles
Dried anc
ho chiles
Water
Take five of each of the chiles and place in a small pot with water. Bring to a boil. This will make your entire home smell like chiles, so you may want to use the exhaust fan on your stove. Boil for about five minutes. The chiles will be extremely hot!
Using a pair of tongs, take the chiles out one at a time and place on a cutting board. Use a knife to remove the stem of the chile and the seeds inside. If you want your tamales to be spicy, leave the seeds.
Using a blender, blend together the chiles with about one or two cups of the chile water.
Add your chiles to your meat mixture, reserving seven cups of the pork or beef broth for the masa. Your meat mixture should still be very saucy.
The meat will be very spicy, but once assembled and cooked, the masa will absorb the spiciness.
 For masa
7 cups of masa harina mix (I like Maseca)
1½ tablespoons baking powder
1½ tablespoons salt
½ pound lard
7 cups broth and enchilada sauce (optional)
1 bag of dried corn husks (soak about half in water)
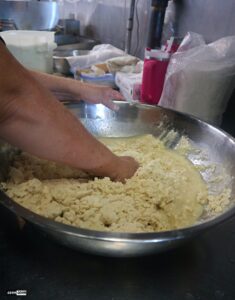
Scrape the cold lard off the top of the meat mixture with a spoon. It won’t be enough to replace all the lard, so use lard in the can for the rest. Using a mixer, mix lard until fluffy. In a different bowl, combine the salt and baking powder with the dry masa mix. Measure out seven cups of broth and enchilada sauce (it gives it a good flavor).
Alternating between the dry mix and the wet broth, slowly blend them with the lard, being sure to scrape the sides of the bowl so everything is well combined. I know it’s weird, but I like starting with the wet mixture and ending with the dry mixture. Once everything is combined, take a small piece of the dough and drop it in a cup of water. If it floats, your masa is perfect!
Assembly
Before preparing the masa and chiles, soak about half a package of corn husks in warm water. I usually do this in a clean sink and add a heavy pan to the top to keep the corns husks from floating up.
To make clean-up easy, lay down aluminum foil on the table you will be assembling your tamales. Make sure you have plenty of space to work, but also plenty of space to set your ingredients. From left to right, have a bowl with your now wet corn husks, then your mixing bowl of prepared masa, then your bowl of meat, then your steamer pot.
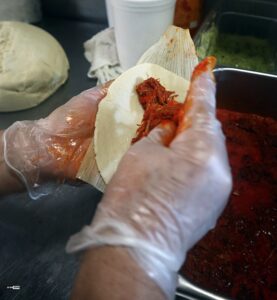
Using the curvature of the corn husk as a guide, add a spoonful of masa onto the corn husk and spread the mixture across the widest point, leaving the top half of the corn husk dry of masa. The masa should be thin but not too thin. It needs to be able to hold the meat inside. Then spoon a line of the meat mixture into the center of the masa.
Roll the corn husk like a burrito and then flip the thin part over to seal the bottom of the tamale. The widest part of the tamale will still be open. If you prefer, you can put a dollop of the masa on the top. Place the prepared tamale into the steamer with the open side up and repeat the process until you run out of masa or meat. I usually run out of masa and make more until all the meat is gone.
When your steamer is full but not completely stuffed, add some water to the bottom of the steamer and bring to a boil. Reduce heat to a simmer and then steam the tamales on the stove with the lid on for about an hour or two, depending on how many tamales are in the pot. You will probably need to check the water level to ensure it doesn’t dry up and burn.
To check for doneness, remove a tamal from the steamer and let sit for about 10 minutes. If the corn husk can be removed easily from the tamal, it is done. Let the tamales cool completely and then place in freezer bags until you’re ready to eat them. Just reheat when needed.
Variations: You can be creative with your tamales by adding cheese, a black olive in the center of the meat or more. I’ve also made chicken tamales and used Rotel tomatoes with the chicken.