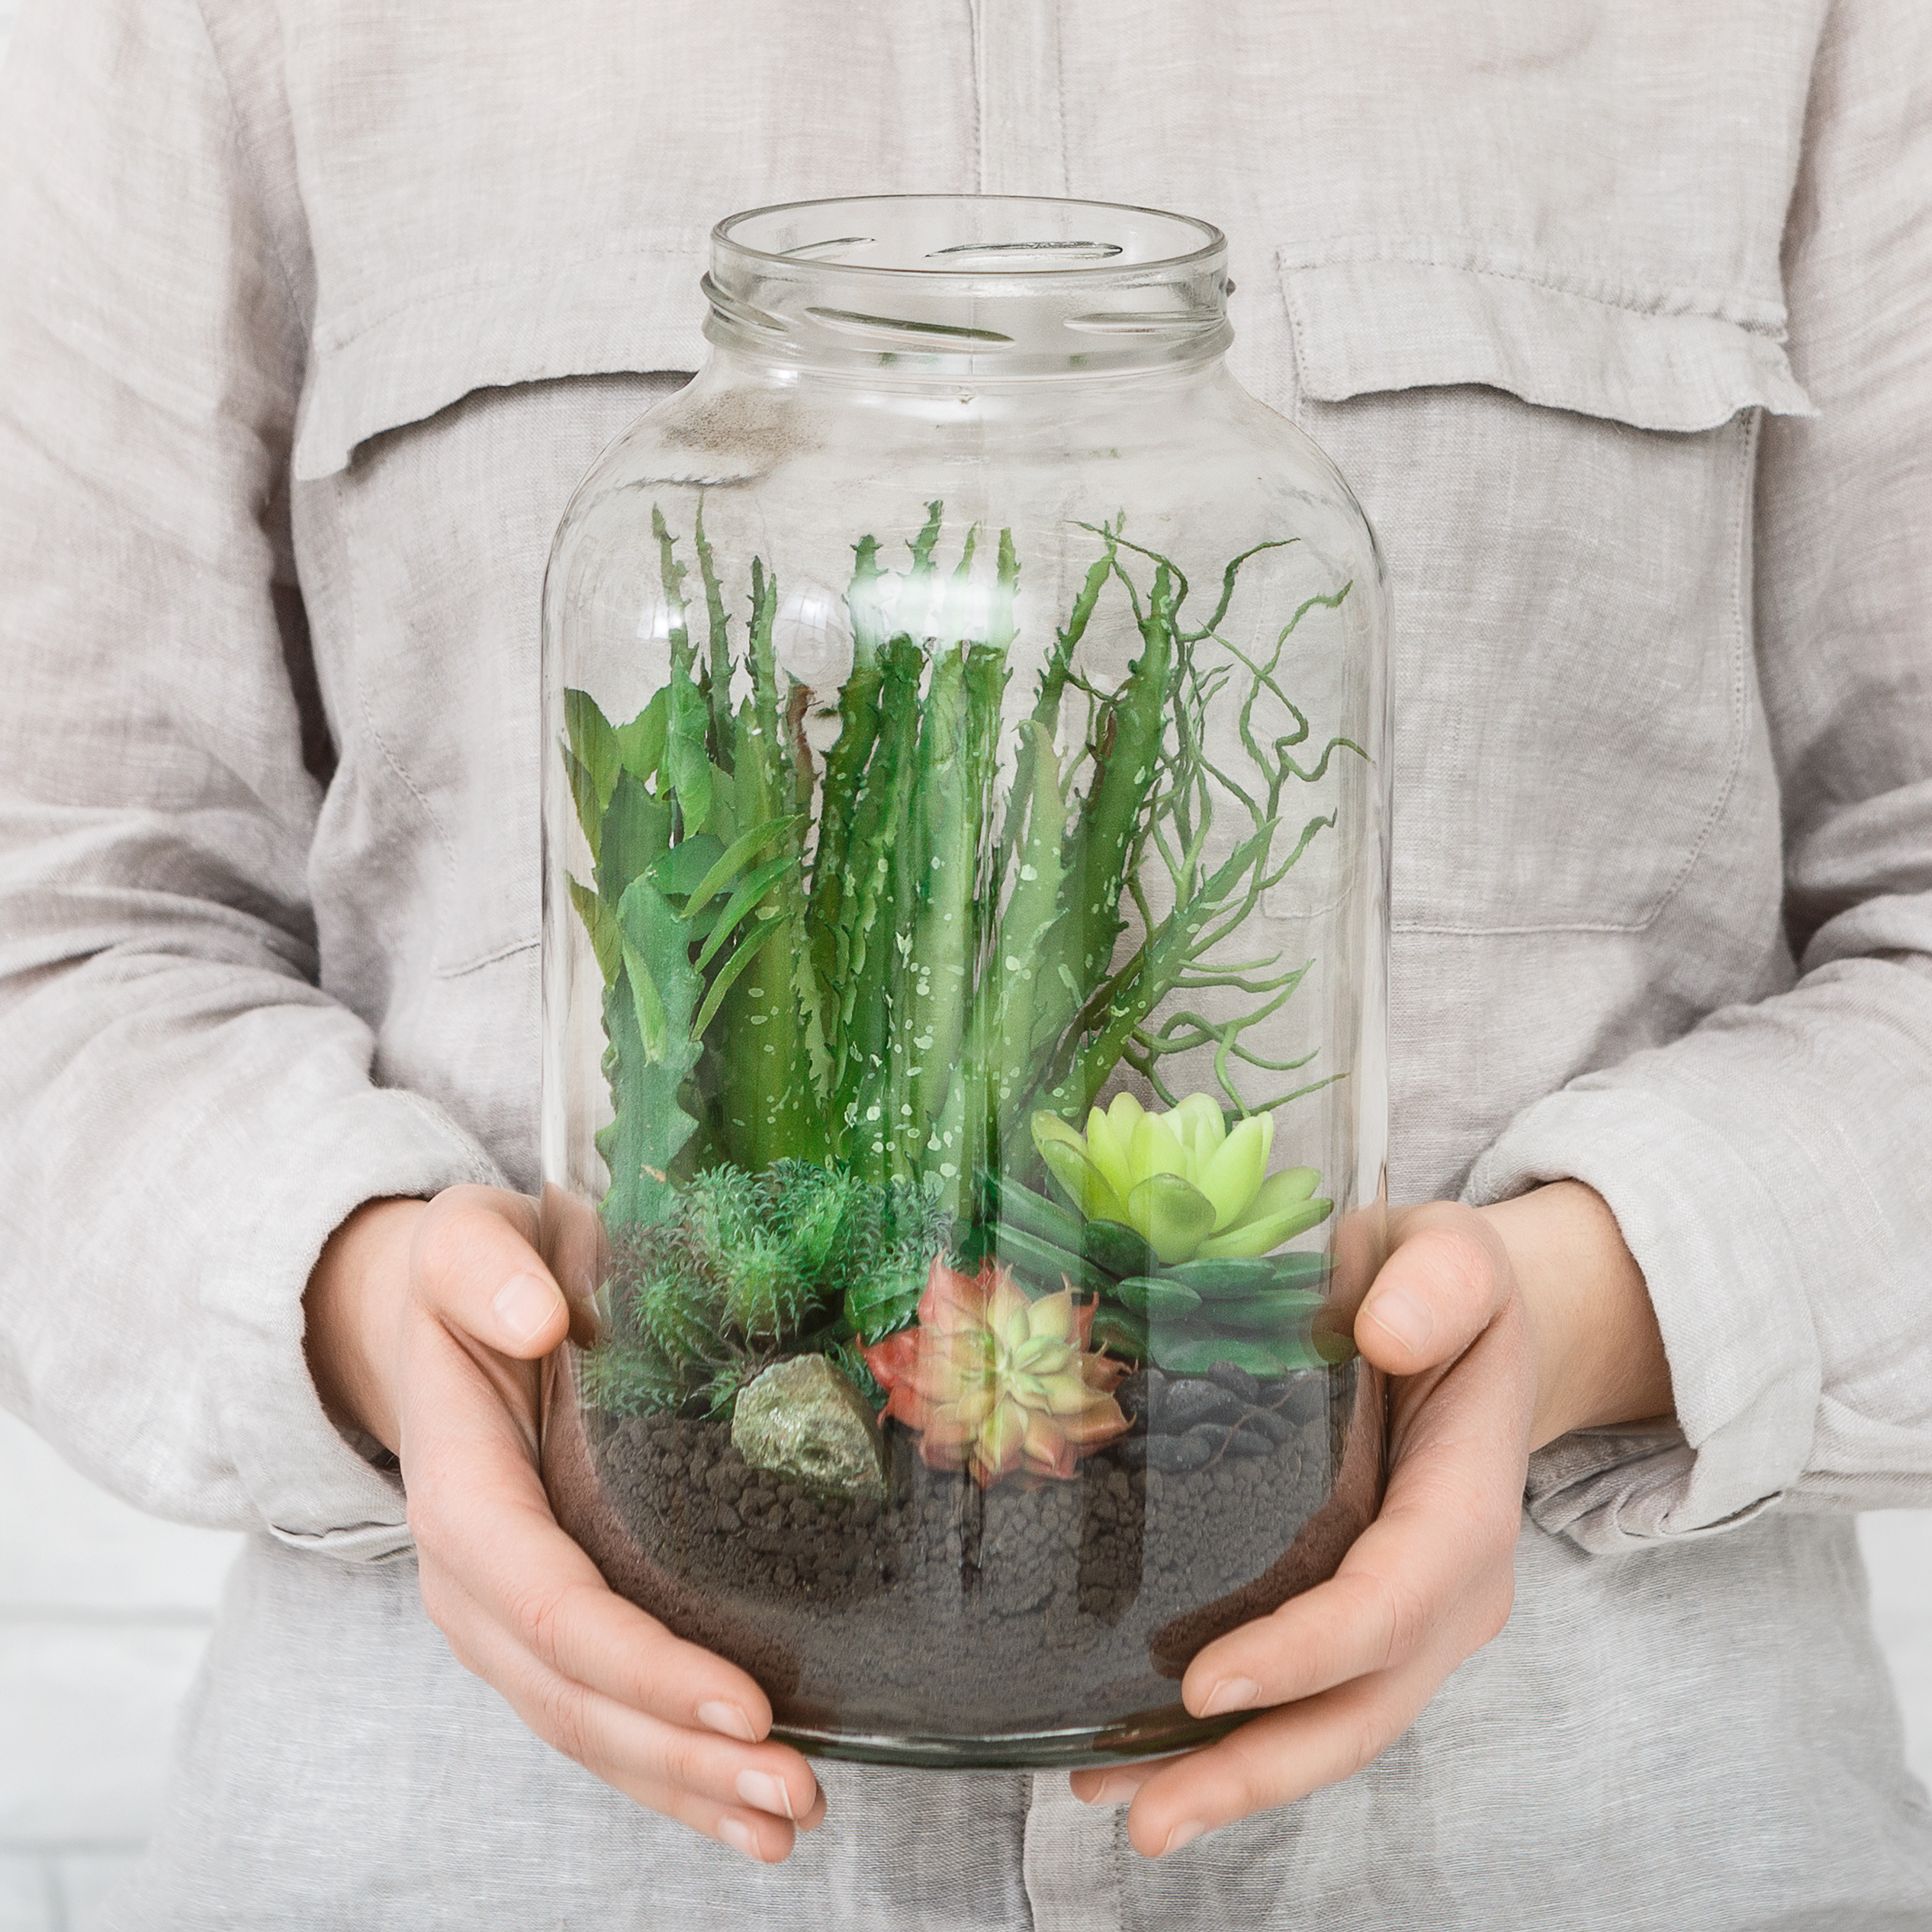
Try Terrariums at Home
Many plants can thrive inside glass jars
By AMY ROGNLIE | Photo from Adobe Stock, Prostock-studio
Back in the day, I recall being fascinated with my grandparents’ terrarium. It was the late 1970s and apparently, terrariums were a thing. My grandparents’ terrarium was basically an enormous, thin-necked glass bottle with some potting soil in the bottom and a few scraggly plants gutting out an existence. I assume it was beautiful when they first acquired it, but neither of them were plant people, so the poor thing was quite neglected. They capped the bottle with one of my grandpa’s spare golf balls and poured a trickle of water in once in a while. I remember it steaming up inside as it baked in the sun in front of the sliding glass door that led to their minuscule porch. Sitting in a sauna couldn’t have been too healthy, so the plants that didn’t die of neglect no doubt steamed to death at some point in their doomed-from-the-beginning life.
I have no idea what happened to my grandparents’ terrarium or even what kind of plants lived — rather, died — in it. The plants must have been something fairly hardy because the poor things held on for a looooong time. At any rate, terrariums are now a thing again, if you hadn’t noticed. In fact, terrariums are back bigger and better than ever. Instead of sticking a few sad fittonias and pothos in a pickle jar, some folks have even added “wildlife” — think sow bugs, lizards, toads, ants … yup. I haven’t gone that far yet.
Anyway, terrariums are popular for a reason. Several reasons, actually. First, they can be easy to care for and a little bit forgiving when it comes to watering. The easiest are the cacti terrariums, where several cacti and some decorative rock are placed in an open glass container. Second, terrariums are fun and easy to create and if you don’t have the time, money or space to have a garden outside, terrariums provide an opportunity to have your own little garden encapsulated in glass.
Which brings me to the next point: open or closed? Some terrariums are intended to grow in perpetuity into their own microcosm in an enclosed glass container with only minimal maintenance. The problem with this type is that if you don’t know what you’re doing, you will quickly end up with a glass jar full of mold and slime. So, if you haven’t created a terrarium before, I would suggest either an open terrarium or a partially closed one so you can better monitor the health of the plants.
Of course, there are all kinds of fancy tools and soil mixes which are cool, but for a fun afternoon project that will look lovely for months, all you need are the basics: a glass container of some sort, a little gravel, potting soil and plants. If you are making a desert-vibe terrarium, a shallower container works fine. If you’re going with other types of plants, you’ll need a deeper container to allow space for drainage. It’s fine to repurpose a jar you already have. I like jars that come with a lid in case I want to keep a bit more moisture in some days or need to let the terrarium dry out a bit at other times.
For a cactus terrarium, use cactus potting soil or mix regular potting soil with sand and/or perlite, both of which are easy to find at any store with a plant department.
Cover the bottom of the jar with gravel, then add the potting soil on top and plant your cacti in it. That’s about it. Cacti like to be watered thoroughly and then left to dry out completely before being watered again. Never let water sit in the bottom of a cacti terrarium. Also, though they are desert plants, most cacti would rather not bake in a south window all day every day. Even cacti need some protection from the sun.
For a terrarium with herbaceous plants, you’ll need a deeper layer of gravel in the bottom of the jar to provide a place for water to drain. Depending on the size of your jar, you need at least an inch or two of gravel. You can put the potting soil directly on top of the gravel, but most folks like to put a layer of sphagnum moss (also found at the garden center) between the gravel and the potting soil to keep the soil from filtering down into the gravel.
Next is the fun part. Plant the little beauties that you chose, give them a drink and set your miniature garden somewhere bright but not in direct afternoon sunlight.
Depending on the type of plants you used, you may want to keep the lid on halfway to allow more humidity to build in the jar, but don’t close it all the way. If things start to look too wet, leave the lid off for a day or two. Once your terrarium is established and your plants are happily rooted in their new home, resist the urge to water until at least the top inch of soil is dry.
Most of all, enjoy the process of creating a microenvironment and watching it grow and thrive. Then head outside and start planting your cool season veggies. It’s prime gardening time in Central Texas!